ttas
New member
View attachment 4840View attachment 4841View attachment 4842View attachment 4843View attachment 4844View attachment 4845View attachment 4846
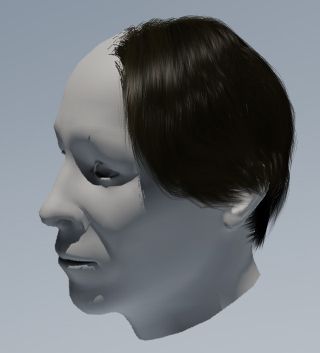
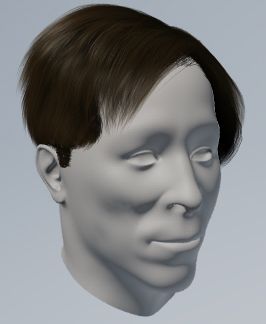
HELLO!!! I'm back, I just wanted to show my first try with hair and fur in max, THIS IS JUST A WIP UPDATE, I know there's still much to do sooo.. comments are welcome...
Woah what happened to his face? It looks like it melted. Hair and body look good though but I thought Liu Kang was finished before though?
")
")