red5iver
New member

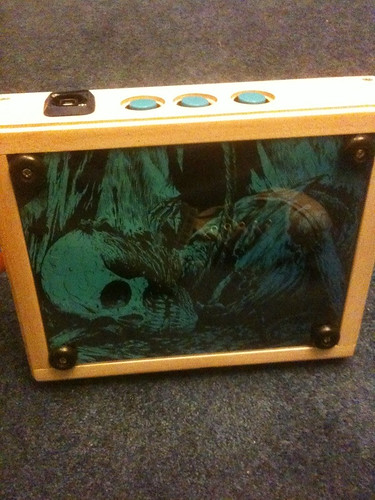
Front

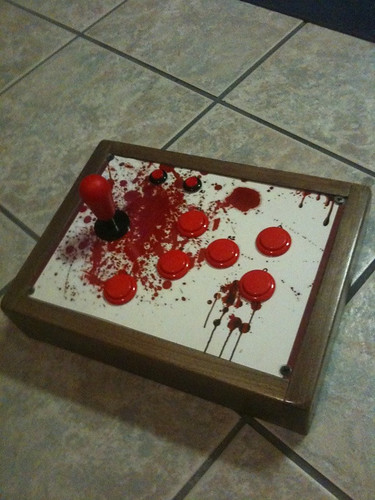
Back
Underside
New stick
I just finished the wiring for my custom MK arcade stick. I was able to test it out on MKII (PS3) and it is working great and feels really good. The button layout is the UMK3 layout with two additional buttons above...they are in an awkward spot, but I basically ran out of workable room.
These upper buttons will be the same as the L2 and R1 on PS3 (LT & RB on Xbox) on the NRS TE stick (theirs feature small buttons above the joystick...odd place for them, but I guess we don't know exactly how the button configuartion will be handled.). If my set-up doesn't work, I can plug these buttons up, and add smaller 14mm buttons in a better spot.
As far as parts, the frame is made from maple...I carved the MK dragon logo into the front, the control panel is MDF with a Lexan top, the PCB is Toodles Cthulhu PS3/PC...it's phenominal...solderless and small, JLF joystick (with bat top add on), and Seimitsu buttons (eight 30mm and three 24mm). If I make another I'll possible use the more MK traditional HAPP or similar parts). There is also a UBS feed-through for easy USB connect/disconnect and storage.
It's a satisfying project that I recommend to all. I had no wiring experience and hadn't worked with wood since 7th grade shop class. I have done a little bit of drawing, and wood carving over the years. There are some great websites to help. I highly recommend slagcoin.com...very helpful. All parts (besides the wood, lexan, and screws) can be purchased at lizardlick.com...another great site, with very fast shipping. Hopefully this stick will work well with MK2011, and the Klassic HD game, if it's more than a rumor!
Anyway, I figured I'd share, and would appreciate any feedback!
Last edited:


